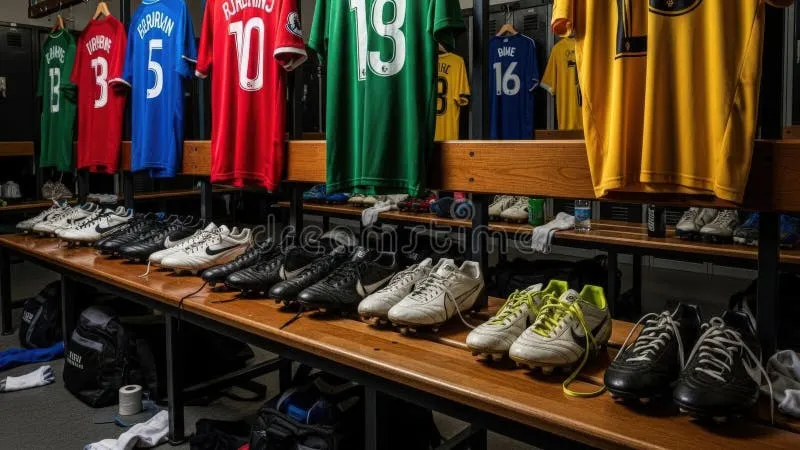
Before the Box Seals Shut: A Donor's Guide to Sending Cleats That Actually Get Played In
Photo: Dario Crespi, CC BY-SA 4.0, via Wikimedia Commons
We see it every shipping season. Volunteers open a donated box at our warehouse and pull out a pair of cleats that tell a sad story: soaked through from sitting in a gym bag since last October, laces knotted into a permanent pretzel, mud baked onto the studs like cement.
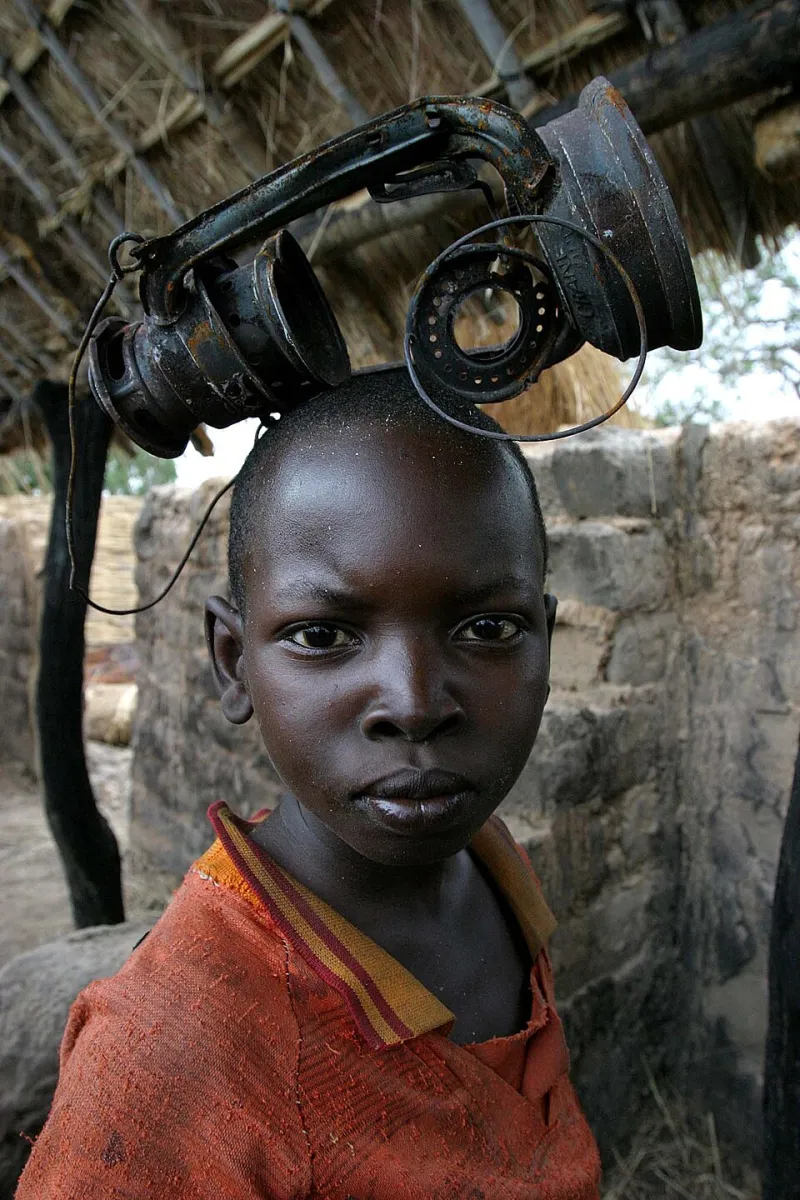
Nobody donates boots hoping they'll be thrown away on the other end. But here's the hard truth our distribution partners have shared with us: a waterlogged or mildewed pair of cleats can't be given to a kid. It's not that we're picky — it's that a child in Lusaka or Accra deserves gear that's ready to play in, not a science experiment.
The good news? Prepping your boots takes ten minutes. Here's exactly how to do it.
Why Gym Bags Are the Enemy
Most donated cleats spend their final weeks stuffed in a duffel with damp socks and a sweaty shin guard. That dark, wet environment is a five-star resort for bacteria and mold. Once mildew takes hold in the lining, the smell never fully leaves — and no kid anywhere wants to lace up boots that smell like a wet basement.
The fix starts before donation day even arrives. When your player finishes their season, pull the boots out of the bag immediately and let them air out. That single habit solves 80% of the problem.
The Five-Step Prep Routine
Our volunteers — several of whom spent years as high school and college equipment managers — put together this routine. It's quick, and it turns a borderline donation into a genuinely great one.
1. Knock off the mud, then scrub. Let dried mud flake off on the driveway, then use an old toothbrush with warm water and a drop of dish soap on the uppers and studs. For leather boots, skip the soaking — a damp cloth works better.
2. Dry them slowly. Never, ever put cleats in the dryer or next to a heater, which cracks the material. Stuff them with newspaper and let them sit for a day or two. Swap the paper once if it gets damp.
3. Deal with odor. A sprinkle of baking soda inside overnight, then shake it out, handles most smells. If a boot still smells after cleaning, it probably shouldn't be donated.
4. Check the laces and studs. Replace frayed laces — a dollar-store pair works fine. Give each boot a shake and a flex. If a stud wobbles or the sole separates, that pair goes in the trash, not the donation box.
5. Lace them up and pair them up. Lace each boot loosely so they hold their shape, then rubber-band or bag the pair together. Loose single boots are the most common sorting headache in our warehouse.
The Printable Pre-Drive Checklist
Tape this to the donation box at your next cleat drive:
- Boots cleaned and fully dry (no dampness in the lining)
- No mildew smell — the sniff test is real
- Laces intact and not frayed
- Studs secure, soles not separating
- Paired and loosely laced
- A note with the US shoe size (youth sizes especially help us match pairs fast)
That last one matters more than you'd think. Our sizing coordinator matches hundreds of pairs per shipment, and a written size on a note or tag saves hours of guesswork.
Small Effort, Big Difference
A cleaned, dried, laced pair of boots might take you ten minutes. For the kid who receives it, that pair is the difference between watching from the sideline and playing. Every volunteer who has handed over gear at one of our partner programs will tell you the same thing: the kids don't care that the boots are used. They care that they fit, they're clean, and they're ready.
So before you seal that box, give your boots the ten-minute treatment. It's the easiest assist you'll ever make.